
Joe, GreenCycle team member and a long-time Auckland gardener, cuts through the conflicting advice with this practical guide to pruning hydrangeas, griselinia, citrus, roses, feijoas, lavender, hibiscus and camellias in Auckland.
Kia ora, Auckland gardeners.
Ever stood in your garden with loppers in hand, staring at a camellia or feijoa and wondering, “Am I meant to cut this now—or will I kill it?” You’re not alone. Pruning can be genuinely confusing, especially in Auckland.
In Tāmaki Makaurau, our plants grow fast, our growing seasons are long, and our gardens often combine subtropical plants such as citrus and hibiscus, natives including griselinia and pittosporum, and temperate favourites like roses, lavender and hydrangeas. It’s one of the things I love about gardening here—but it also means generic pruning advice doesn’t always fit the reality of an Auckland garden.
I’ve brought together the practical basics for eight plants Aucklanders love to grow. For each one, you’ll find the best time to prune, how to make the right cuts and the common mistakes to avoid. There’s also a quick Auckland pruning calendar for when you just need a clear answer.
And because the job doesn’t end with the last cut, I’ll show you how to deal with the aftermath—palm fronds the size of surfboards, bamboo that refuses to fit in any wheelie bin, and hedge clippings that somehow fill a trailer before you’ve even finished the first hedge. We’ll look at simple, practical ways to handle it all responsibly, so it doesn’t end up in landfill.
Let’s get pruning.
| Jump to plant pruning guides | |
|---|---|
| Hydrangea | |
| Griselinia Hedge | |
| Citrus Trees | |
| Roses | |
| Feijoa Tree | |
| Lavender | |
| Hibiscus | |
| Camellias |
Before you start
The five rules that will help you avoid most pruning disasters:
Rule 1: Don’t prune blind – know your goal first
Every cut should have a purpose. Decide whether you’re aiming for shape, more flowers, better fruiting, size control, or improved light and airflow. When you know the goal, the right cuts are more obvious.
Rule 2: Use clean, sharp tools
Blunt tools tear instead of cut, stressing the plant and inviting disease. Keep your secateurs, loppers, and pruning saw sharp – and disinfect between plants to avoid spreading fungal issues or pests.
Rule 3: Remove the ‘3Ds’ anytime
If it’s dead, damaged, or diseased, it can go – in any season. Clearing the 3Ds keeps plants healthier and prevents problems from spreading.
Rule 4: Know ‘old wood vs new wood’
Some plants, (hydrangeas camellias and magnolias), flower on last year’s growth. Others, (lavender, hibiscus and bush roses) on this year’s new shoots. Cut at the wrong time and you remove the buds before they ever open.
Rule 5: Don’t overdo it
Prune a little, step back, reassess, then continue. Over‑thinning shrubs or stripping out too much inner growth from trees weakens plants and creates long-term structural issues. Slow and steady is the secret.
Auckland pruning calendar (quick cheat sheet)
Mid–Late Winter (July–August)
Best for hard structural pruning while plants are dormant.
Roses – full winter prune.
Paniculata hydrangeas (cone head) – prune hard; they flower on new wood.
Fruit trees (deciduous) – apples, pears, plums (not stonefruit in heavy rain years).
Wisteria – structural prune (after summer trim).
Citrus (light shaping only) – tidy once fruiting finishes; avoid hard cuts.
Figs – prune for shape and size.
Feijoa – light shaping; avoid heavy cuts.
Early Spring (September)
Plants wake up; focus on shaping and encouraging new growth.
Hibiscus – main prune; they flower on new wood.
Bougainvillea – prune to control size and encourage flowering.
Fuchsias – cut back to encourage fresh flowering growth.
Tibouchina (Princess Flower) – prune lightly to shape before growth flush.
Abutilon (Chinese lantern) – prune to encourage bushy growth.
After Flowering
Late Winter–Spring depending on plant. Critical for old‑wood bloomers so you don’t remove next year’s buds.
Camellias, Azaleas & Rhododendrons – prune immediately after flowering.
Lavender – prune after flowering; never into old wood.
Spring‑flowering shrubs – viburnum, philadelphus, weigela after flowering.
Late Spring–Early Summer (November–December)
Growth is fast; ideal for hedges and shaping.
Pittosporum hedges – main trim to keep dense.
Griselinia hedges – light trim (5–10 cm).
Buxus (box hedge) – shape once growth flush appears.
Lilly Pilly – prune to maintain shape and density.
Summer (January–February)
Maintenance pruning + controlling vigorous growth.
Wisteria – summer whip trim.
Star Jasmine (Trachelospermum) – prune after flowering.
Climbing Roses – tidy and deadhead.
Hedges (second light trim) – pittosporum, griselinia, lilly pilly.
Late Summer–Early Autumn (February–April)
Perfect for old‑wood bloomers + tidying before cooler weather.
Hydrangea Macrophylla (Mophead/Lacecap) – prune after flowering.
Feijoa (second light trim) – tidy shape.
Citrus (post‑fruit tidy) – remove crossing branches, open canopy.
Flax (Harakeke) – remove old fans and tidy.
Bamboo – remove old culms and thin.
Every plant in an Auckland garden grows differently – and they all need slightly different pruning rules to stay healthy, tidy, and full of flowers or fruit. Some bloom on old wood (mophead hydrangeas, camellias), some on fresh new shoots (hibiscus, roses), and others respond best to light, regular shaping (griselinia, lavender). Citrus and feijoa have their own rhythms too. This section breaks down exactly how to prune each one, with Auckland‑specific timing, simple steps, and the common mistakes to avoid.
How to prune hydrangeas
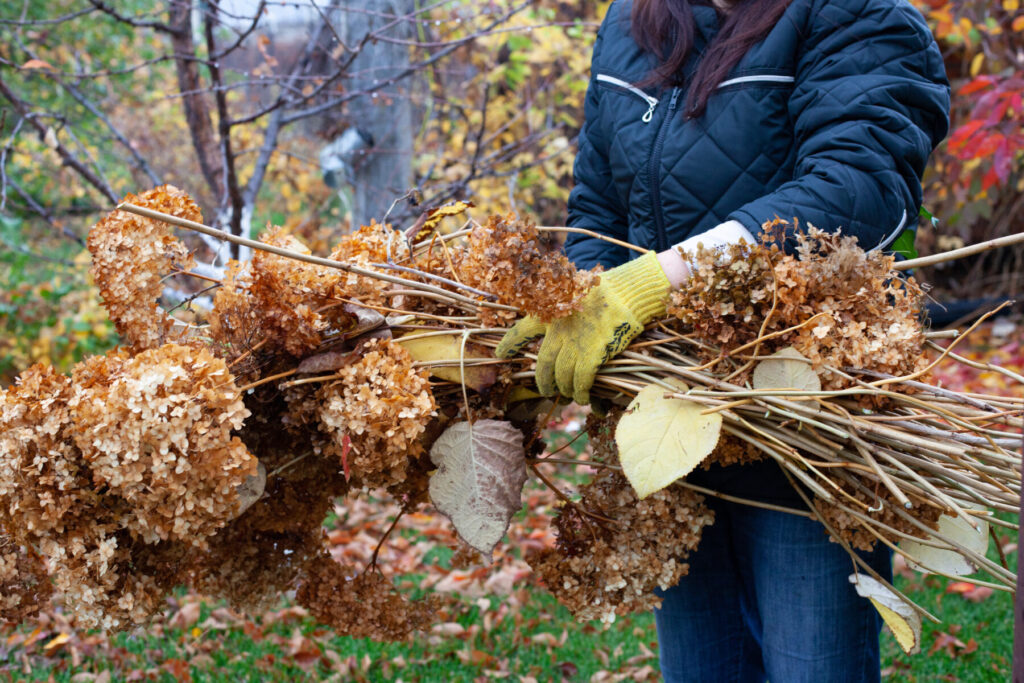
Nothing says summer in Auckland quite like hydrangeas in full bloom—cloud-like flowers in dusty pinks, crisp whites and vibrant blues against soft green leaves. But before you reach for the secateurs, check which type you have. Macrophylla (mophead and lacecap) hydrangeas flower mainly on older stems, while Paniculata (cone-shaped) hydrangeas flower on new growth. Prune them in the same way and you could sacrifice next season’s display.
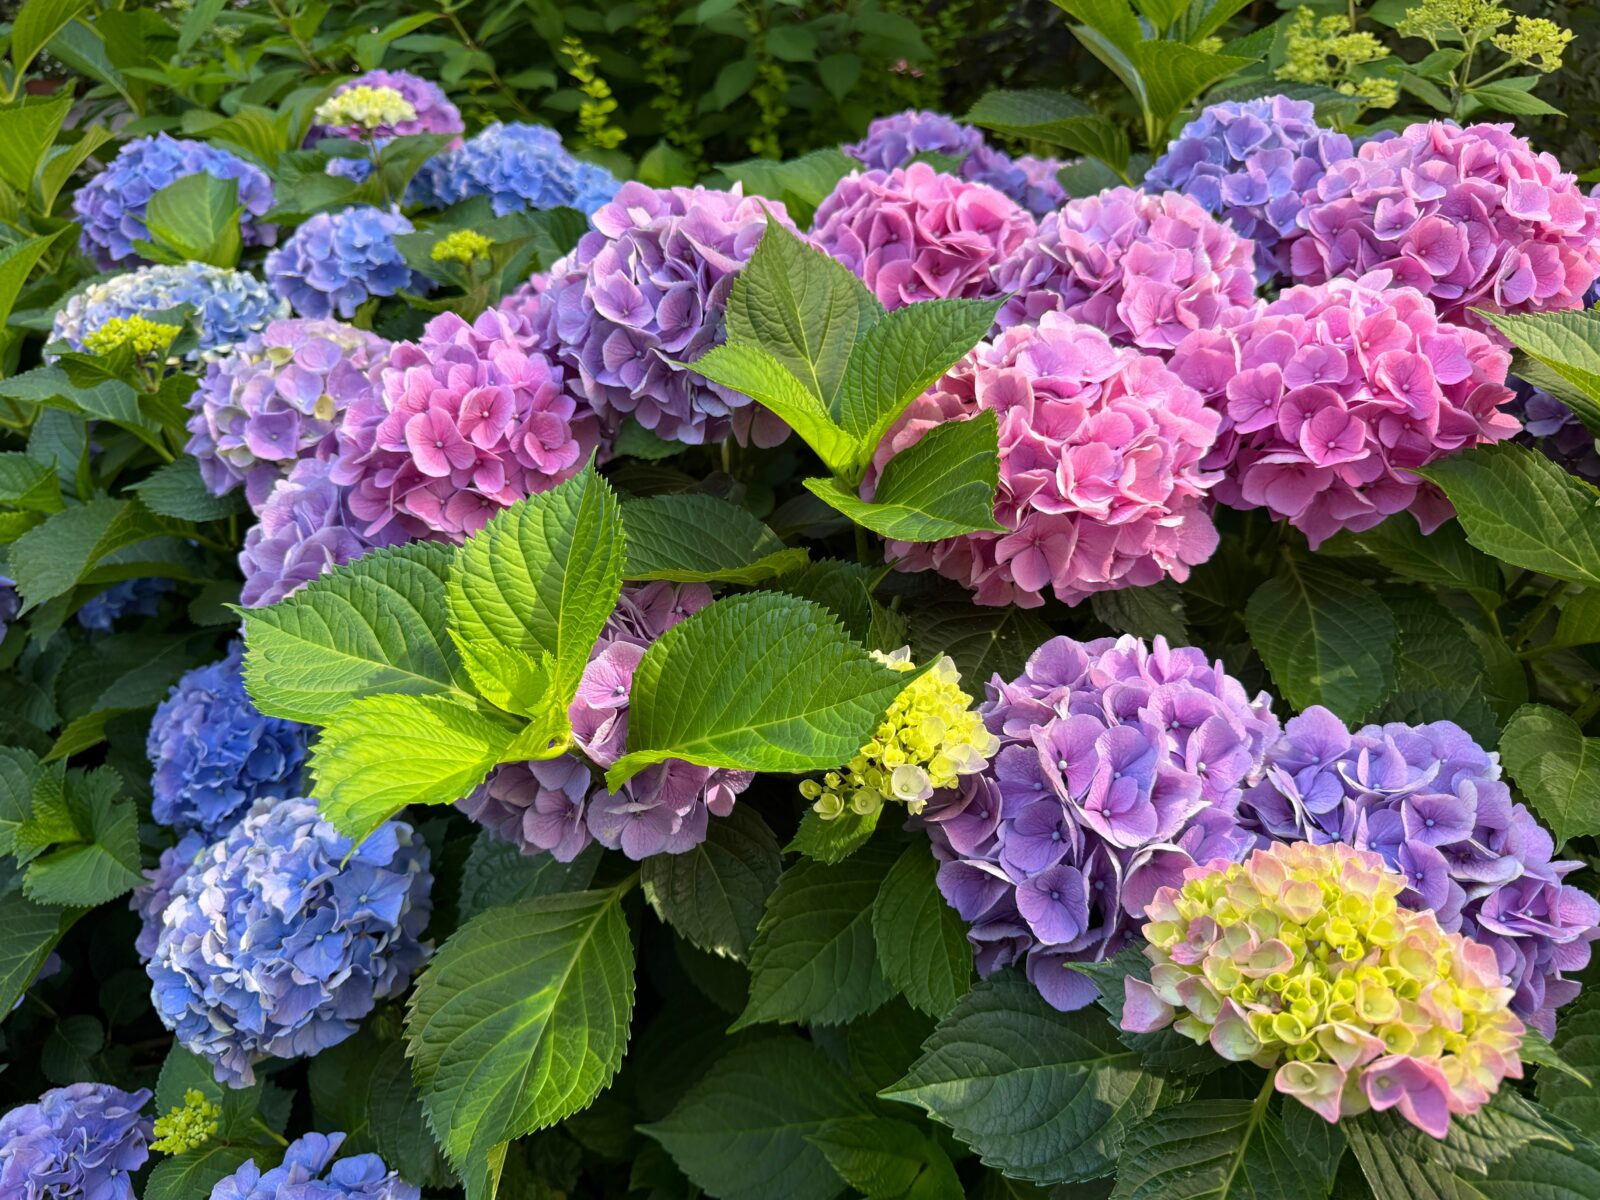

| Macrophyla hydrangea (mophead) | Paniculata hydrangea (conehead) |
- When to prune: Prune mophead and lacecap hydrangeas from late summer into autumn (February to April) when flowers are finished. Prune Paniculata hydrangeas in mid to late winter (July to August) before new buds emerge.
- Flowers on: Macrophylla – old wood, paniculata – new wood.
- How: For mopheads and lacecaps, follow the stem down from the spent flower and cut just above the first strong pair of healthy buds. Remove one to three of the oldest stems that didn’t flower well at ground level to encourage fresh growth. Shape the shrub by shortening any stems that stick out or make the plant uneven. Panicle hydrangeas can be cut back more firmly to a healthy framework of buds.
- Avoid: Hard winter pruning – you may remove the stems carrying next season’s buds.
- Tip: For longer vase life pick mature blooms that feel slightly papery and submerge the whole flower in cool water for 20 to 30 minutes, then recut the stem on an angle.
What’s a leaf node?
A leaf node is the small joint or bump on a stem where leaves and buds grow. Cutting just above a healthy node encourages the plant to regrow from that point. The direction the bud faces can also help determine where the new shoot will grow—useful when you’re shaping a plant.
How to prune a griselinia hedge
Griselinia is the classic Auckland hedge for a reason – glossy, lush, bright-green, fast to establish and easy to shape. But there are some tricks to keeping it looking good year-round.
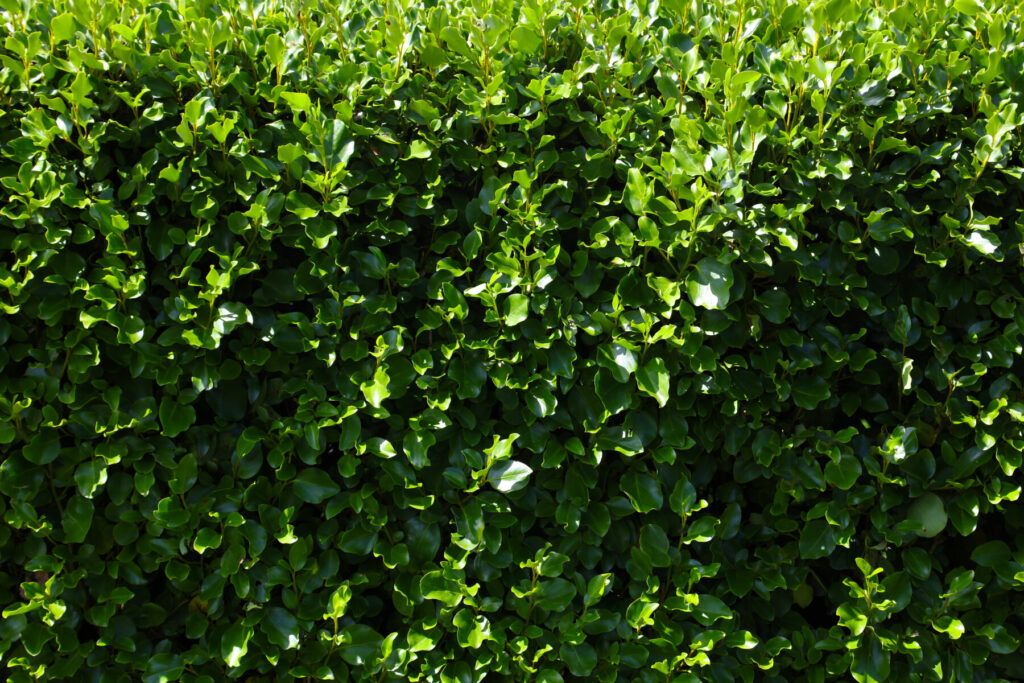
- When to prune: Give your hedge its main trim in late spring or early summer, followed by a lighter tidy-up in late summer. Very vigorous hedges may need an occasional small touch-up between these trims.
- How: Remove 5-10cm with hedge trimmers or loppers. Keep the hedge slightly narrower at the top than at the bottom so sunlight can reach the lower leaves.
- Avoid: Repeatedly cutting back to exactly the same point, which can create a dense outer shell and a bare interior.
- Tip: If an established hedge has become woody or gappy you can hard prune up to one third of the plant in late winter/early spring. It’s better to renovate it gradually rather than cutting the whole hedge back at once – tackle no more than one side at a time, then water and mulch well to support regrowth.
- Growing tip: Griselinia love steady moisture and good drainage. Keeping the soil consistently moist and mulched will help keep your plant lush, glossy and dense.
How to prune citrus trees

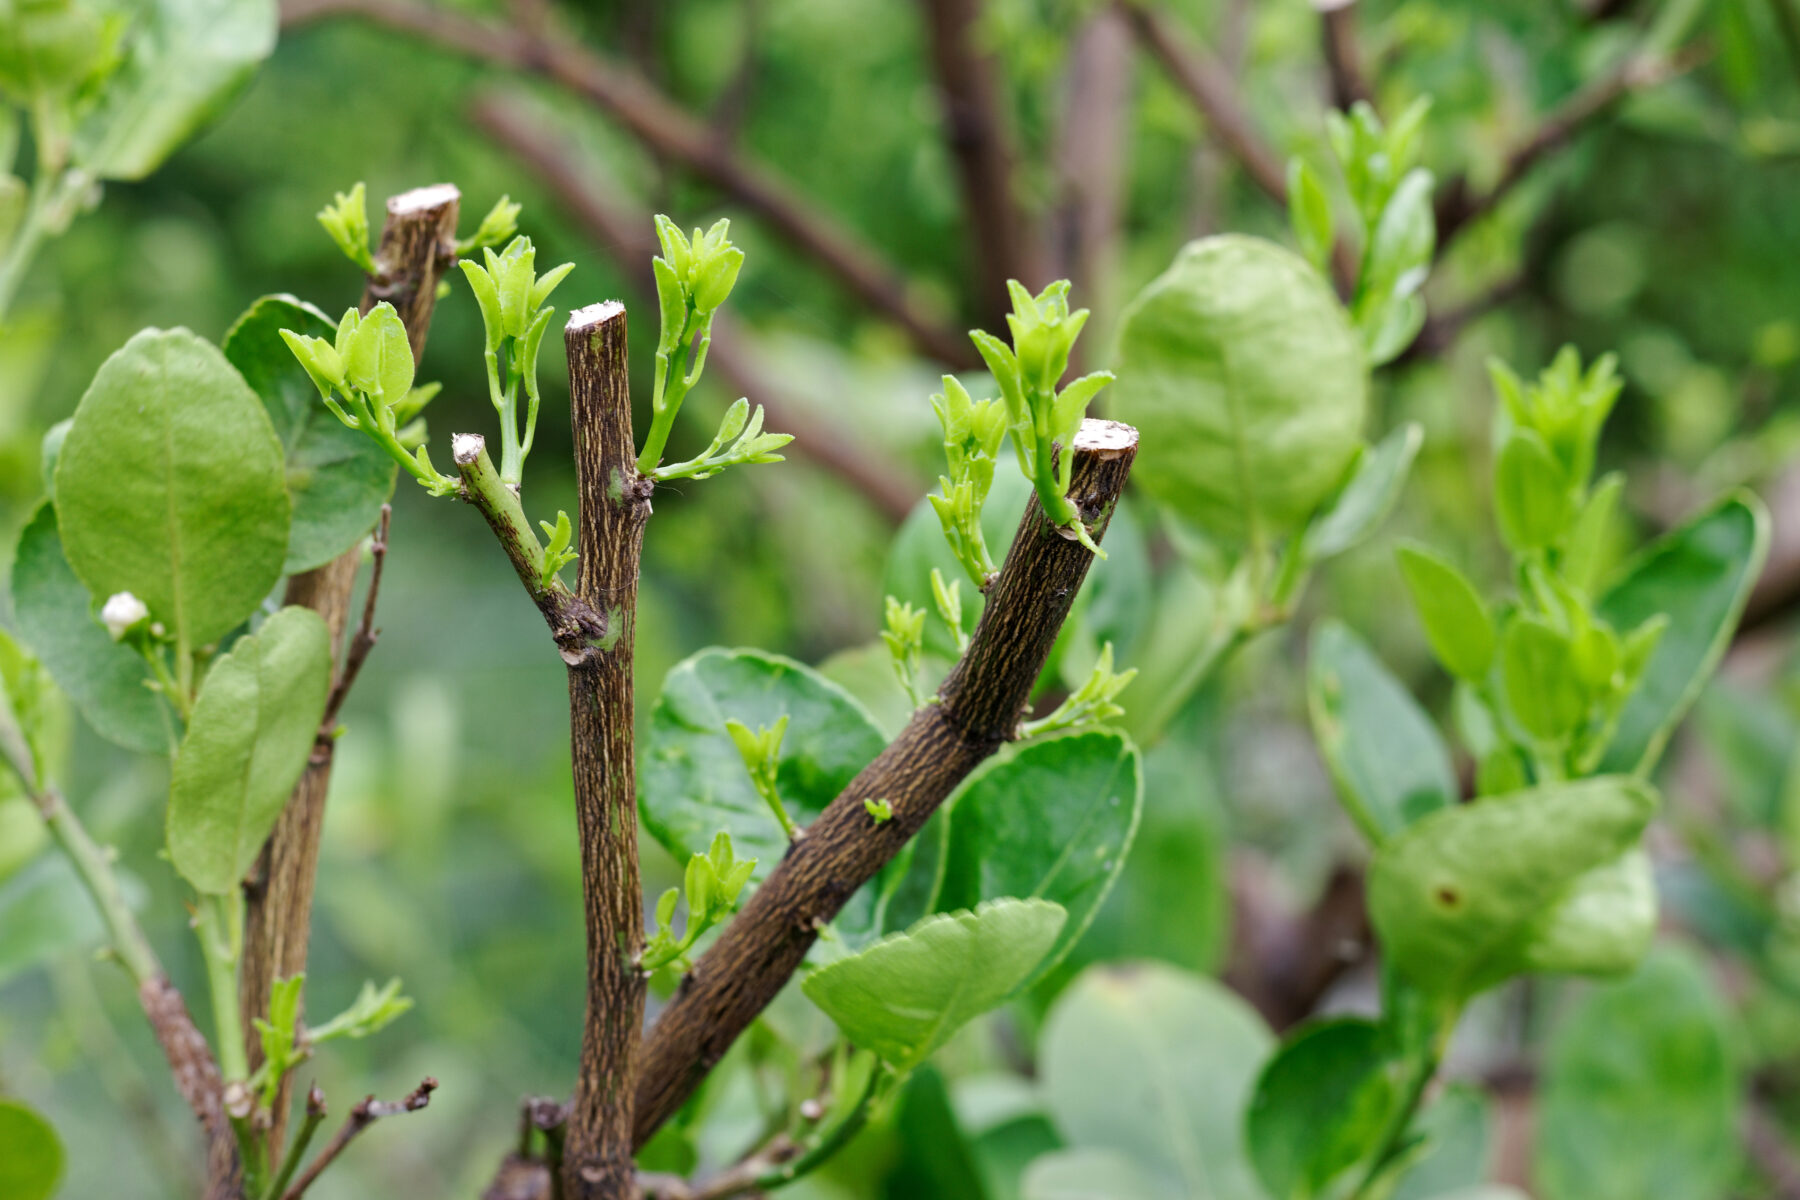
Citrus trees are one of Auckland’s great garden joys—glossy leaves, fragrant blossom and fruit that earns its place in almost any kitchen. They generally need less pruning than many fruit trees, but occasional thinning helps sunlight and air move through the canopy and keeps the tree manageable, productive and pest-resistant.
- When to prune: Prune lightly in late winter/early spring (August to September), once fruiting has finished. The exact timing will depend on the citrus variety.
- Flowers on: New wood
- How: Remove any 3D (dead, damaged or diseased) branches first. Cut crossing branches or crowded interior growth back to branch it grew from, letting light and air flow through the tree. Shorten long whippy shoots to an outward-facing bud or side branch, and remove unwanted suckers and water shoots at their source.
- Avoid: Hard structural pruning in summer. It stresses the tree and attracts pests like whitefly and scale. Removing too much foliage at once can expose bark and fruit to sunburn and trigger a rush of vigorous water shoots.
- Tip: Citrus fruit ripens best when sunlight reaches it. Aim for dappled light inside the canopy, thin until you can. This one simple rule improves fruit sweetness, reduces fungal issues, and keeps the tree compact and productive.
- Handy growing tip: Feed your citrus little and often rather than one big dump of fertiliser.
What’s a sucker?
A sucker is a fast-growing shoot that emerges from the base or roots of a citrus tree, often from below the graft. Suckers grow from the rootstock rather than the fruiting variety and can steal energy from the rest of the tree. Remove them cleanly at the point where they emerge.
How to prune rose bushes in Auckland
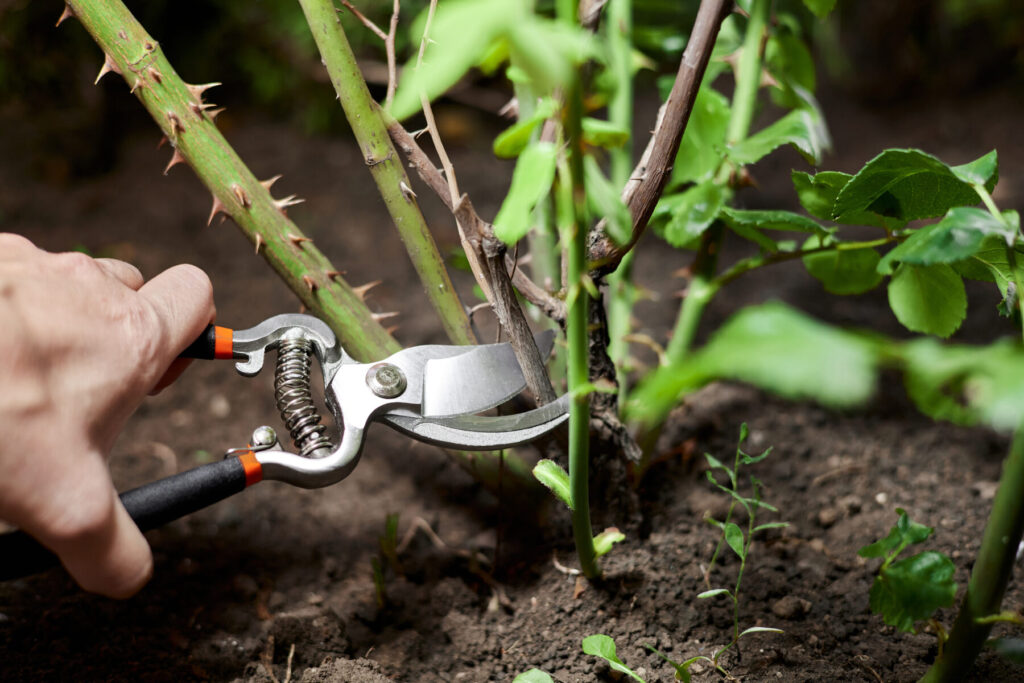
Nothing compares to home‑grown roses — the perfume, the colours, the soft fall of petals, and the ruby red rose hips like tiny lollies on thorny stems. They look delicate, almost fragile, but roses love a good prune and reward your bravery with stronger growth and better blooms, especially in Auckland’s long growing season.
- When to prune: Prune established bush roses in mid to late winter, generally July to August in Auckland.
- Flowers on: New wood
- How: Remove dead, damaged and diseased wood followed by weak and crossing stems. Roses flower best on strong canes. Open the centre to create a loose vase shape, then shorten the remaining canes by about one-third to one-half. Cut just above an outward-facing leaf or bud so new growth spreads outward, not inward.
- Avoid: Leaving the centre crowded as it encourages black spot and mildew.
Don’t cut too lightly – timid pruning results in fewer flowers.
Early autumn pruning when soft new growth may be vulnerable to cold weather. - Tip: To push roses to rebloom faster Chris from C&P Garden Maintenance recommends deadheading after each flush of flowers and cutting the stem back to the first strong, three‑leaflet leaf. ‘In Auckland’s long growing season this trick can double your bloom count.’
How to prune a Feijoa tree
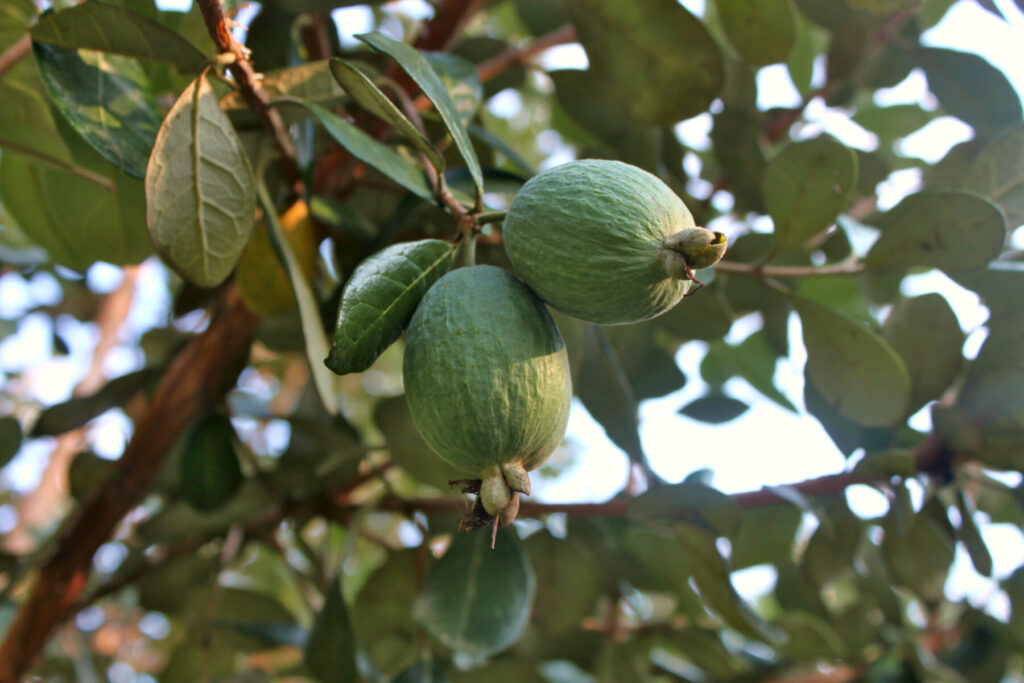
For me, the feijoa is a tree that makes Auckland feel like home. One day you’re waiting impatiently for the first fruit; the next you’re filling bowls and buckets—and persuading friends, family and workmates to take some off your hands.
Feijoas are tough, generous and well suited to Auckland gardens. They don’t need annual pruning, but occasional thinning helps light and birds reach the inner branches and keeps the fruit within picking distance.
- When to prune: Prune after fruiting has finished in late winter to early spring (July to September). Choose a dry day and avoid pruning once the tree is flowering or setting fruit.
- Fruits on: New wood
- How: Remove dead, damaged and crossing branches. Thin out crowded interior growth to improve airflow and reduce fungal issues. This also lets the pollinating birds into the canopy. Shorten long, leggy branches to keep the tree compact. Aim for a loose, vase‑like shape — open centre, strong outer framework
- Avoid: Removing too much at once. Feijoas tolerate substantial pruning, but a hard cut can reduce the following crop, especially if done in summer. Gradual shaping is preferred.
- Tip: Keep your feijoa tree at a practical height of around 2 to 2.5m so you can maintain it easily—and collect the fruit without reaching for a ladder. Feijoas fall naturally when they are mature, although they may still feel firm when you pick them up. Leave them at room temperature for a day or two; they’re ready to eat when they give slightly to a gentle squeeze.
- Another name: In the United States, feijoas are often called ‘pineapple guava’ – I think that’s a surprisingly good description of their unique taste.
How to prune lavender
Lavender has always been one of those plants that carries a little nostalgia with it. I still remember hanging bunches to dry and sewing them into tiny lavender drawer‑sachets, and weaving the flowers with lilac ribbon to make old‑fashioned lavender bottles. Even now, when I drift my hand across the tops of a lavender bush and that soft, sweet scent rises into the air, I’m right back in my nana’s garden.

Lavender is one of those plants that looks effortless – until it suddenly becomes woody and collapses in the middle. The secret to long‑lived lavender in Auckland is regular, light pruning that keeps the plant dense and rounded.
- When to prune: Trim after flowering. Depending on the variety and conditions, this is usually from late spring through summer (October to January). A very light tidy-up can be made in early autumn.
- Flowers on: New wood
- How: Remove spent flower stems and trim back approximately one-third of the leafy growth, shaping the plant into a soft mound. Always leave green foliage below your cuts.
- Avoid: Cutting into bare, woody stems, as many lavenders struggle to regrow from old wood. Don’t leave the plant untrimmed for a year; that’s how it becomes woody and can split through the centre.
- Tip: Lavender lives longest when kept in a rounded mound. This shape prevents the centre from splitting open, keeps stems strong against Auckland’s wind, and encourages even flowering all over the plant. A lavender kept domed can last longer.
- Growing Tip: Lavender loves sun and hates wet feet. Auckland’s wetter, more humid conditions can be challenging so give it full sun, excellent drainage and plenty of airflow.
- Did you know: Lavender is considered to be a natural insect repellent. Try planting near outdoor entertaining to reduce mosquitoes or by the veggies to deter cabbage moths and whitefly.
How to prune hibiscus
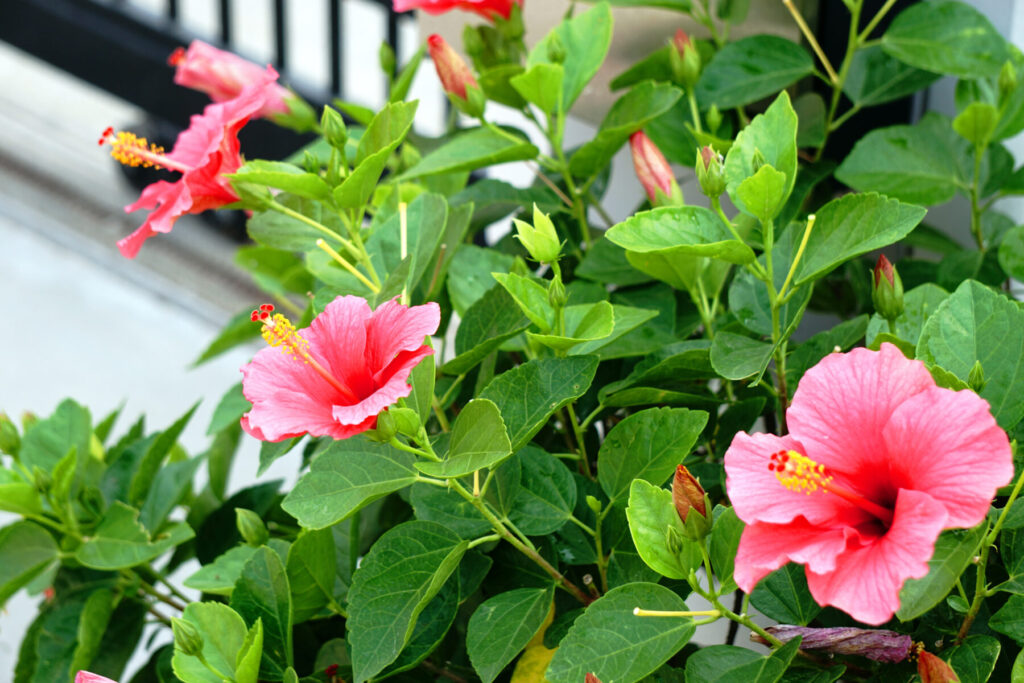
Hibiscus are a slice of a tropical Pacific paradise in your own back yard – sunset oranges, coral pinks, buttery yellows, deep reds, even wild tie‑dye blends that look painted by hand. They’re not great as picked flowers, but on the plant they’re unbeatable – bold, joyful, and generous. Despite their tropical glamour, hibiscus are surprisingly tough. Hibiscus flower on new growth, so spring pruning encourages a bushier plant with more potential flowering shoots. A very hard prune may delay flowering while the plant regrows.
- When to prune: Make the main prune in early spring (August–September) when the risk of cold snaps has passed and new growth is beginning. Light shaping trims are fine anytime in summer.
- Flowers on: New wood
- How: Remove dead, damaged, crossing and crowded branches. Shorten leggy stems by up to one third to encourage bushy, flowering growth. Always cut just above an outward-facing leaf node. Shape the outline keeping the plant slightly wider at the base so light reaches the lower growth.
- Avoid: Pruning heavily in late autumn or winter. The resulting soft growth can be damaged by cold snaps.
- Tip: Hibiscus are tropical at heart so keep roots warm and moist – mulch 5-8cm around the base and water deeply as needed in summer.
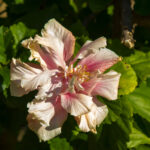
Do you need to deadhead hibiscus?
Not for repeat flowering. Each flower lasts only a short time before dropping naturally. You can remove wilted blooms simply to keep the plant tidy.
How to prune camellias
Camellias have a quiet, timeless glamour – glossy green foliage, perfectly sculpted blooms, excellent picking and famously adored by Coco Chanel for their beauty without fragrance.
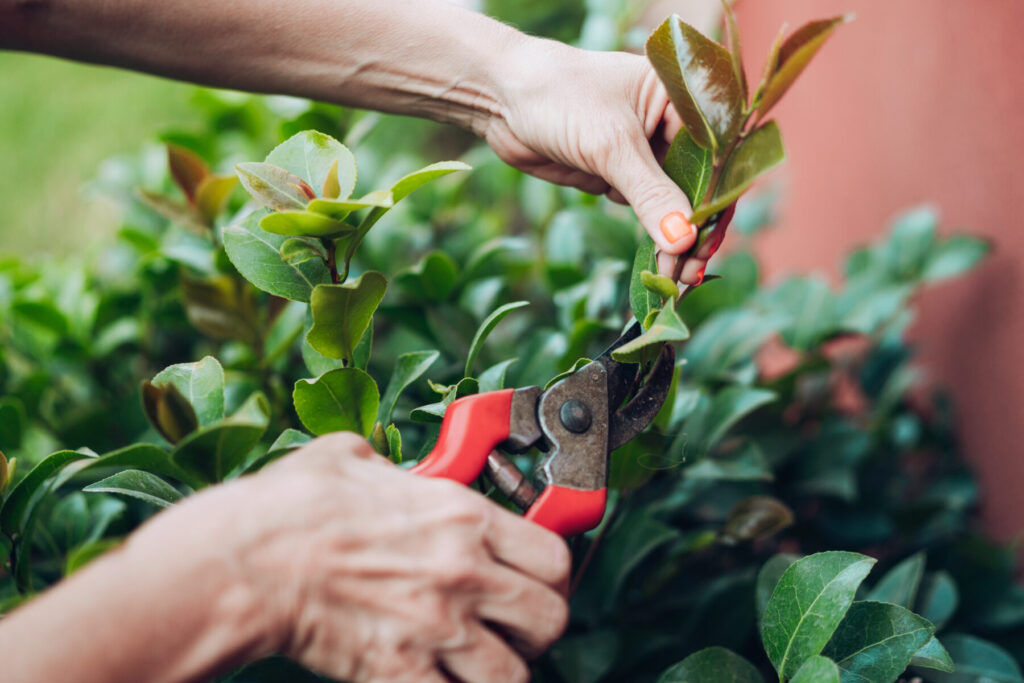
Camellias aren’t demanding, but in Auckland they can quietly take over if left untouched. A light annual prune keeps them dense, healthy, full of winter colour and their stunning flowers easy to pick.
- When to prune: Prune immediately after flowering has finished, usually in late winter to early spring (August–September). Camellia varieties bloom at different times, so follow the plant rather than relying on a particular month.
- Flowers on: Old wood
- How: Lightly shape the outer growth, cutting back to a healthy set of leaves or a side branch. Remove weak, crossing and crowded branches to improve airflow. Step back regularly to check the overall shape.
- Avoid: Pruning in the months before flowering (Autumn or mid-winter), when you may remove developing buds. Also avoid leaving a dense, congested centre where moisture can linger.
- Tips: If you need to significantly reduce a large camellia, spread the work over two or three years. Camellias don’t like severe pruning. Feed after pruning and mulch around the base to support recovery.
What to do with all that Greenwaste
Now you’ve finished pruning you’re probably staring at a mountain of branches, leaves and clippings. But getting rid of it doesn’t have to be a mission. Here are a couple of easy ways to clear the mess and keep your weekend on track.
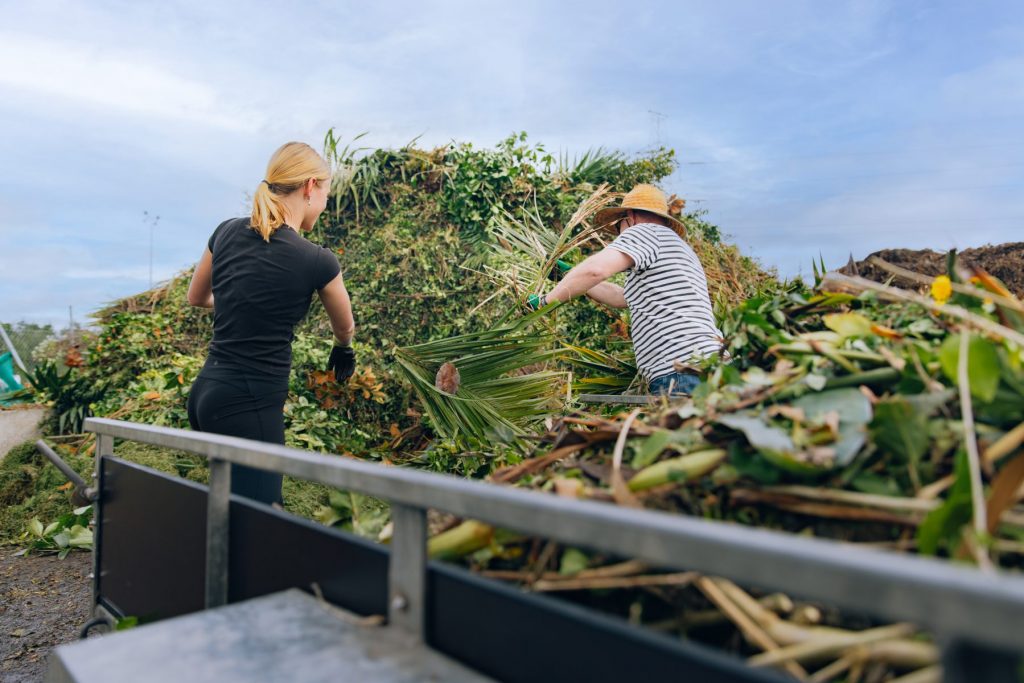
Option A. Drop it off at GreenCycle’s Penrose yard
If you’ve only got a trailer‑load or a boot‑load, simply swing by our Penrose greenwaste yard. We accept all garden waste – flax, palm, bamboo, logs, branches, hedge trimmings, lawn clippings, and general pruning debris.
A few things we don’t take:
- Straight soil or dirt
- Rocks, concrete, or rubble
- Treated timber or building waste
Drive in, tip out, and you’re done. No fuss, no mess left at home.
Free loan trailer – No trailer? No problem. Borrow one for free.
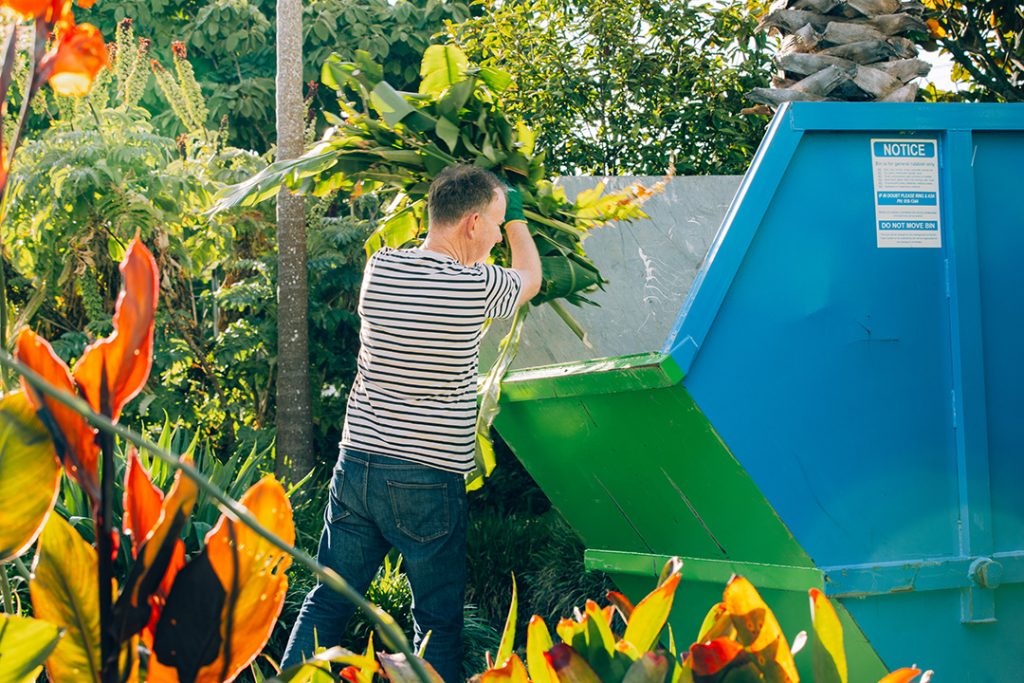
Option B. Book a skip bin for bigger pruning weekends
If you’ve gone hard on the hedges or tackled a full garden overhaul, a skip bin is the way to go. Book online to have a GreenCycle Greenwaste Skip Bin delivered straight to your driveway, fill it at your own pace, and let the us take care of the rest.
Add goodness back to your garden
Pruning isn’t just a tidy up – it’s a reset for your plants. It removes leaves and branches that helped them to photosynthesise, store energy and protect themselves. That’s why mulching and feeding after pruning is important to plant health.
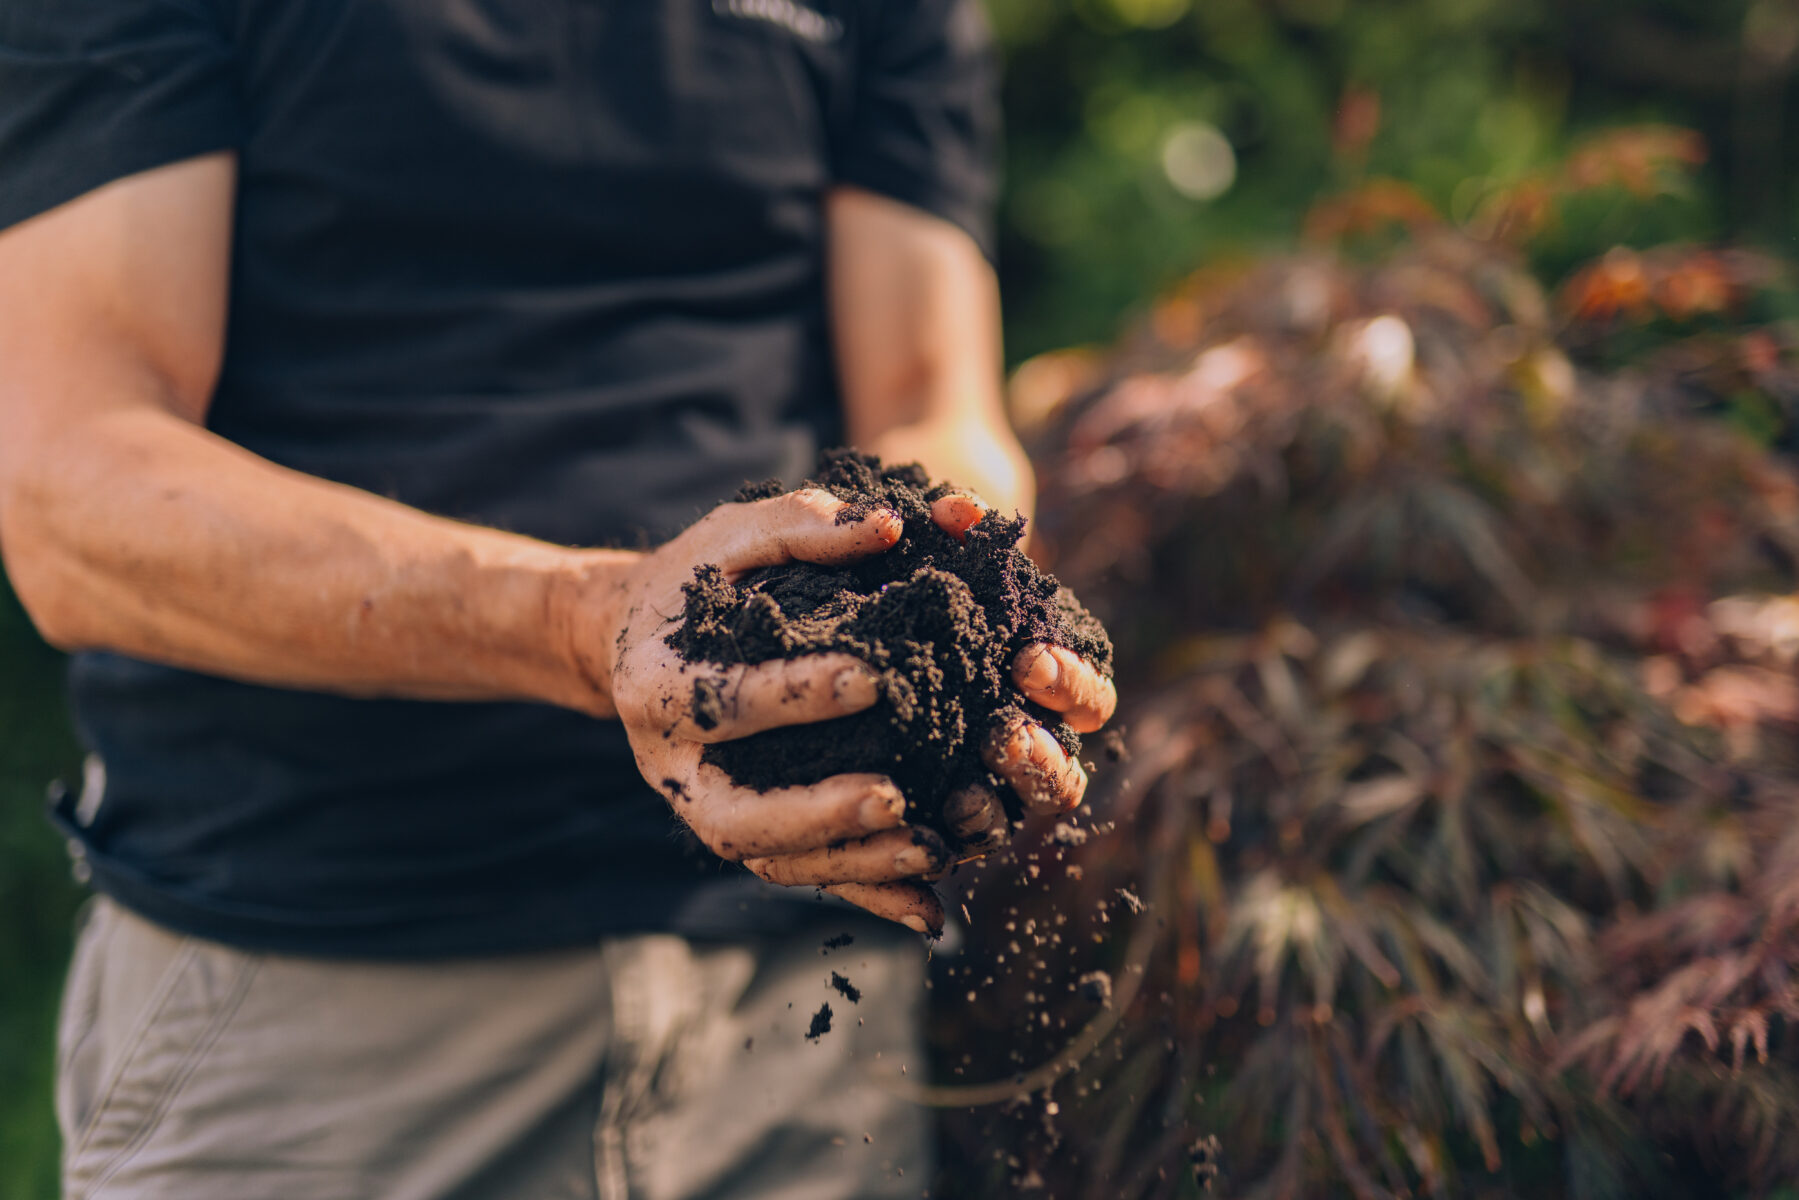
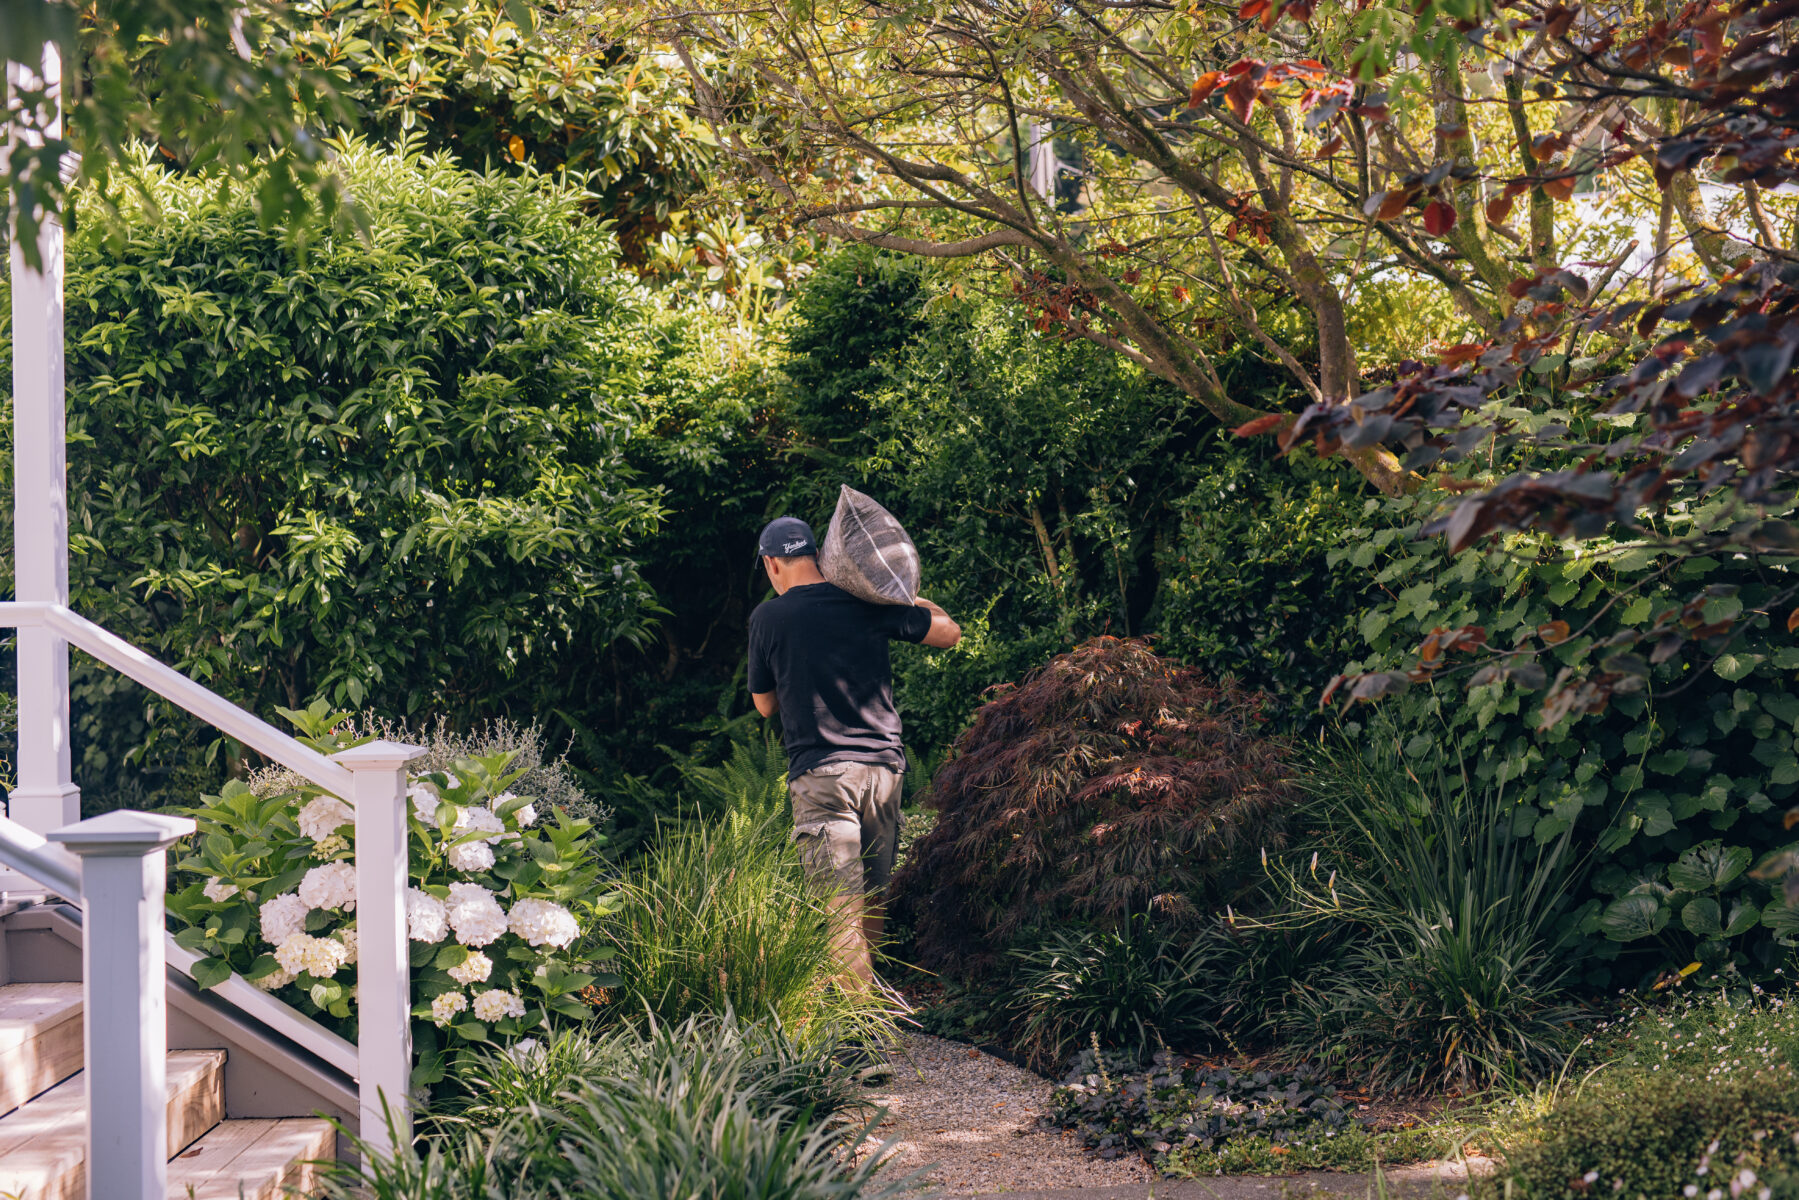
A light feed of compost replaces lost nutrients and supports fresh new growth
Mulch locks in moisture, keeps the soil temperature steady, and reduces weed competition while the plant rebuilds.
Together, they give your plants the boost they need to bounce back faster and grow stronger.
Everything you drop off at GreenCycle is recycled into garden goodness. Your green waste becomes nutritious MulchMax®, NutriPower® Compost, and NutriPower® Garden Mix. Drop your waste to GreenCycle and take home garden goodness to feed your soil, protect your plants, and finish your garden properly.
Happy gardening.